

How can you get the most glamorous possible makeup and hair for your next event or wedding, and how can you look awesome in photos? Read my tips below so you can do your own makeup and hair like a pro!
I am makeup artist and hairstylist Stacy Lande of Iconic and Beautiful and Iconic Pinups in Los Angeles, and I have been providing glamorous makeup and hair to my clients since 2009. I would love to help you get a beautiful, classic look on your own!
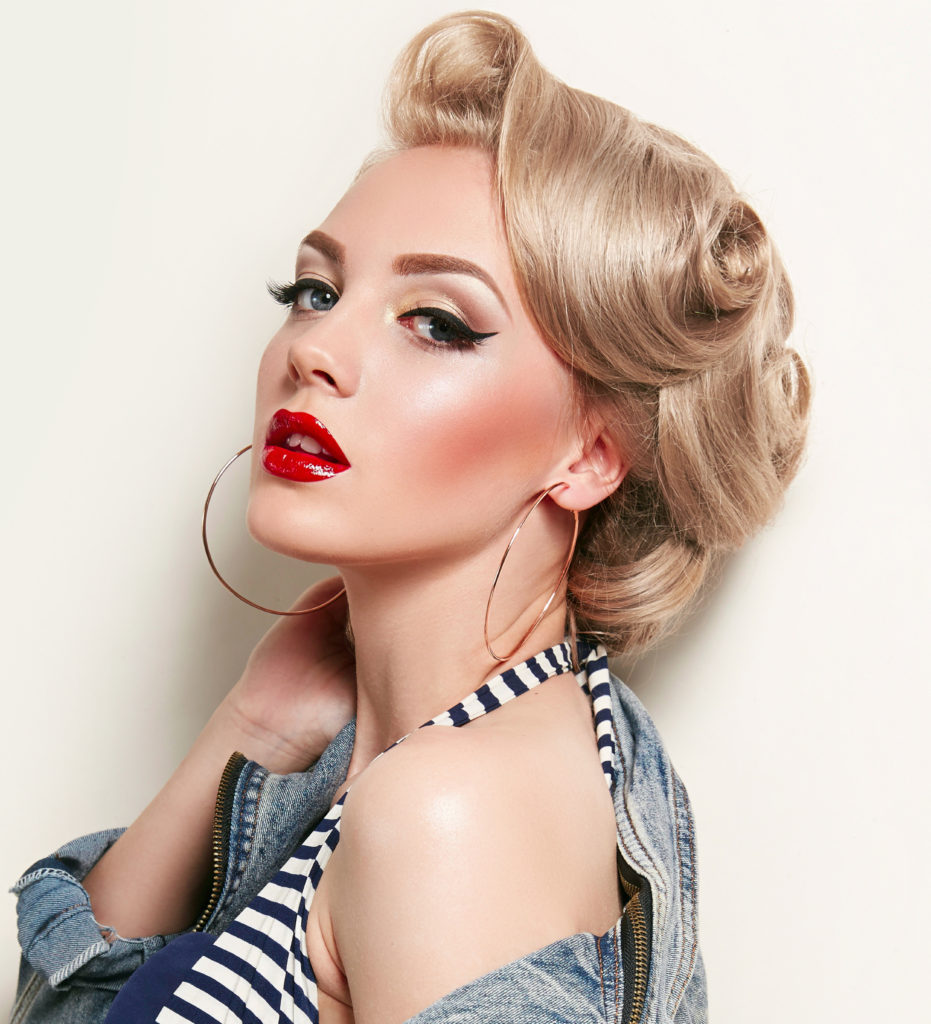
What is Full Glam Makeup?
This is a glamorous makeup and hair that is a mixture of Old Hollywood Glamour and the techniques of modern makeup application. We have come to know it as bright or dark lip color, false lashes, arched brows and lots of contouring. Just focus on sheerer foundation, lots of highlights and shimmer, bolder eyes, and of course, winged liner.
If you want to dress like a pinup girl, I recommend What Katie Did lingerie. They are THE MOST authentic vintage inspired lingerie out there.
.jpg)
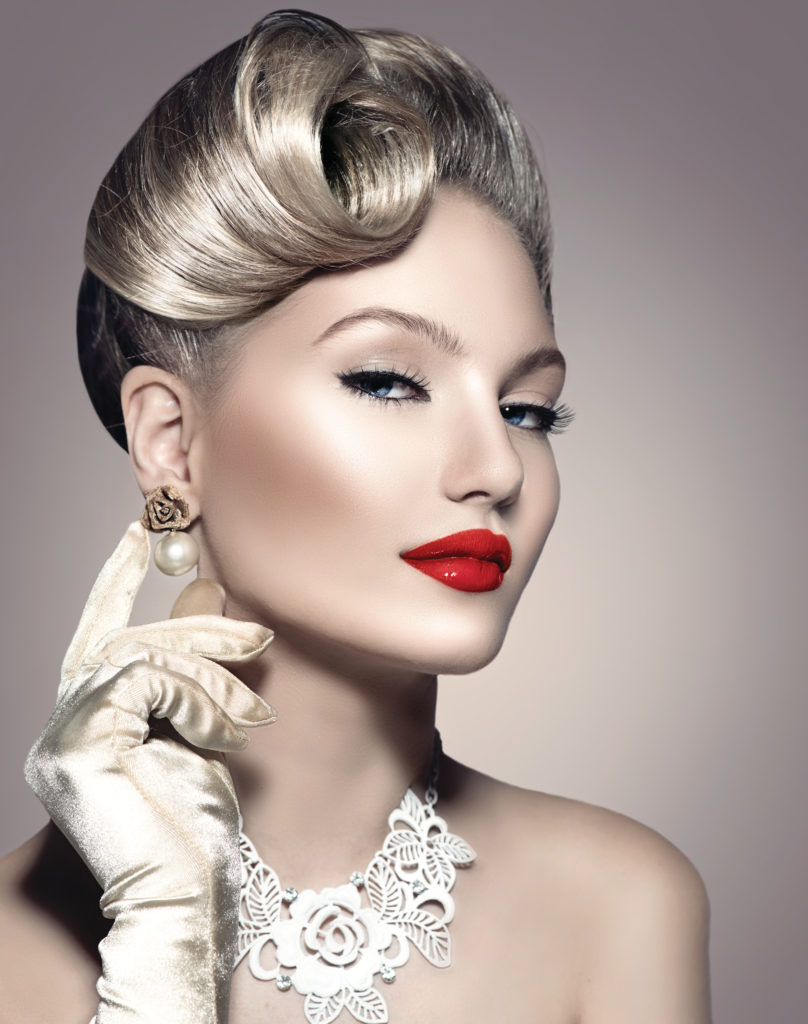
What is a soft glam look?
You can suggest the glamour of old Hollywood with all contemporary styles and products. You can get glamorous makeup and hair that is softer and more natural, luminous, and glowing. It really plays up beautiful skin, and lots of radiant highlights, shimmer, gloss and glow, with an emphasis on neutral eye shadow colors, and of course, winged liner.
How to Get a Glam Makeup Look in 8 Steps
Step #1: Prep that skin with a makeup primer!
Primer is really the most important step. If you want a professional glamorous makeup, you must remember that you are an artist preparing a beautiful canvas. Make it smooth and poreless. If there are rough bits the makeup won’t go on smoothly. I recommend Too Faced Primed Poreless Blurring Face Primer –
- New Advanced Formula creates a flawless matte canvas for makeup.
- It has great stuff for your skin: hyaluronic acid, a gentle form of retinol, vitamin C, and vitamin E.
- instantly reduces shine, blurs imperfections, smooths skin texture and virtually banishes pores.
Step #2: Create a beautiful base
Get a gorgeous finish with the right foundation and concealer . I cannot emphasize the importance of this step enough! Your skin is your luminous glow, so choose a product that will warm you up and look flawless. For a sheerer, dewier glow, I recommend Nars Sheer Glow Foundation.
- it is a lightweight foundation
- provides long-lasting moisture
- protects against dryness
- Skin type: Normal
For a bit more coverage, and more matte look with a longer wearing formulation , I would recommend Nars All Day Luminous Weightless Foundation
- Formulated with flexible polymers and rich pigments
- Effortlessly blends on skin with just one drop
- Offers lightweight yet buildable coverage
Step #3: Conceal!
Concealer is my best friend. It can take years off, and really brighten the face and open the eyes! Don’t skimp on this MOST important step! My choice: Nars Radiant Creamy Concealer.
- Gives you light to medium coverage, blurs fine lines, stays put and doesn’t crease.
STEP #3: Contour, contour, contour!
You once again have the power to sculpt some beautiful features and add warmth and luminosity to your skin! Soft contours and highlights, when done correctly, are just gorgeous. They require a bit of skill, but if you want a product that is straightforward and easy to use, I recommend Lorac Pro Contour Palette & Contour Brush, Multi.
- 2 matte highlighters, 1 shimmer highlighter, & 3 matte contour shades to help create perfectly sculpted features
STEP #4: ADD a soft blush for warmth and a flush of color
This adds youth and gives a healthy, wide awake look. This one is a timeless classic, and Iconic! It has a rosy pink tone with a bit of golden shimmer. I can’t live without this in my kit! Nars Blush, Orgasm.
STEP #5: Perfect those brows
I recommend Anastasia Beverly Hills Brow Powder Duo. I can’t say enough about anastasia. I wouldn’t use another product.
- Richly pigmented powder that you apply with an angled brush
- So many colors to choose from. Best match possible.
For the most professional looking brows, I use Mac Brushes – #208 Angled Brow Brush (eye). As a former Mac makeup artist, I swear by their brushes.
- You will get precision and a perfect brow every time.
STEP #6: Don’t skimp on the eyeshadow
This is the opportunity to create the most engaging eyes, bigger, more open, soft and gorgeous. I recommend Too Faced The Chocolate Bar Eye Palette. You will believe me when I tell you the colors are delicious!
- pigmented layerable rich color.
- An array of colors from smoky to shimmery and luminous.
STEP #7: The cat eyes have it
Let’s face it, winged eyeliner is perfect with the most contemporary looks these days down to the most retro. Which one is the best? As an artist, I recommend HAUS LABORATORIES by Lady Gaga: LIQUID EYE-LIE-NER
- Glides on with ease won’t smudge or run
- Vegan and cruelty-free
- The thin marker-like tip is easy to use even for the least experienced, and delivers a defined thin line to a dramatic bold line with precision.
Long fluffy lashes are the femme fatale charactieristic we are all looking for, let’s face it. If you love false lashes, but if you want to skip those you can add some drama with the right mascara. I love Pat McGrath Labs Fetish Eyes Mascara
- Because it has a thick brush applicator, this mascara lenghtens, curls, and adds lots of volume.
STEP #8: Warm up Your Face with a Pop of lip color
For a wedding, event, or photo shoot, the last thing you need is to worry about reapplying your lipstick, or getting dry, cracked looking lips from a typical all day formula. This recommendation is a no brainer. I absolutely LOVE Stila Stay All Day Liquid Lipstick.
- This lipstick is creamy and matte and doesn’t dry your lips.
- It feels so luxurious and comes in tons of glamorous colors.
- 12 hour formula and no bleed.
Can moisturizer be used as a face primer?
In some cases you definitely can use moisturizer as a face primer. For an older client, or someone with dry skin, I like to forgo the primer, and prep with a proper moisturizer before my foundation. This gives a more sheer, glowy look to the foundation, and I find that it doesn’t settle as much into facial fine lines. I recommend Bobbi Brown Vitamin Enriched Face Base.
- This is an oil-free hydrator for preparing a satiny makeup application.
- It is so rich and smooth and contains shea butter to immediately nourish tender & soothe skin lines.
- There is some good stuff in here like vitamin C and E, and is great for all skin types.
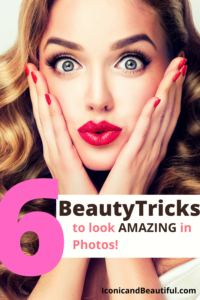
6 Beauty Tricks That Will Make You Look Amazing in Photos
Nowadays we are on camera more than ever, and having glamorous makeup and hair and looking beautiful in video and photos is of the utmost importance.
Step #1: Try a natural looking foundation that matches well, and don’t skimp on the concealer!
As above, I recommend Nars as it comes in gorgeous colors, and looks natural in real life, yet reacts beautifully with lights for photography.
Concealer is the top trick for gorgeous photo makejup! Try a lighter shade under the eye and near the tear duct: this will brighten the eye and make you look so glowy in photos!
Step #2: Don’t forget the contouring
Contouring was designed for photos, and looks best in photography (Looks less appropriate during the day at the supermarket.) You can take off years and add beautifully soft structure to your face. Again I recommend the Lorac Pro Contour Palette & Contour Brush, Multi.
This will add warmth and a glow, as people tend to look a bit washed out in photos.
Step #3: Color me blushed!
Once again, people do tend to wash out in photos, and adding blush some not only adds youth, but will give your face a pretty glow. For photos I recommend Mac Mineralized in Warm Soul. This looks natural in person, but gives a very subtle warm color glow to your face.
Step #4: Line the upper inner rim of your eye
This makes the eyelashes look so long! As we age the eyelids tend to look extra thick, so lining the inner rim of the upper eye really does take off 10 years. This is one of my top tricks. The best eyeliner pencil? Urban Decay 24/7 Glide-On Eye Pencil.
- Rich, thick, pigmented, and available in so many colors.
Step #5: Open up those eyes and make them look so big!
Mascara can be your best friend in this department. Once again I recommend Pat McGrath Labs Fetish Eyes Mascara
- thick brush applicator
- this mascara lengthens, curls, and adds lots of volume.
Step #6. Be seen in the best light
Get a ring light! Lighting is really the top trick for looking glamorous, younger, and more gorgeous in photos! Nowadays they are a must, since we are all on camera more than ever. Top ring light choice: Neewer Ring Light 18”. My professional photographer business partner uses this one, and it makes you look GORGEOUS!
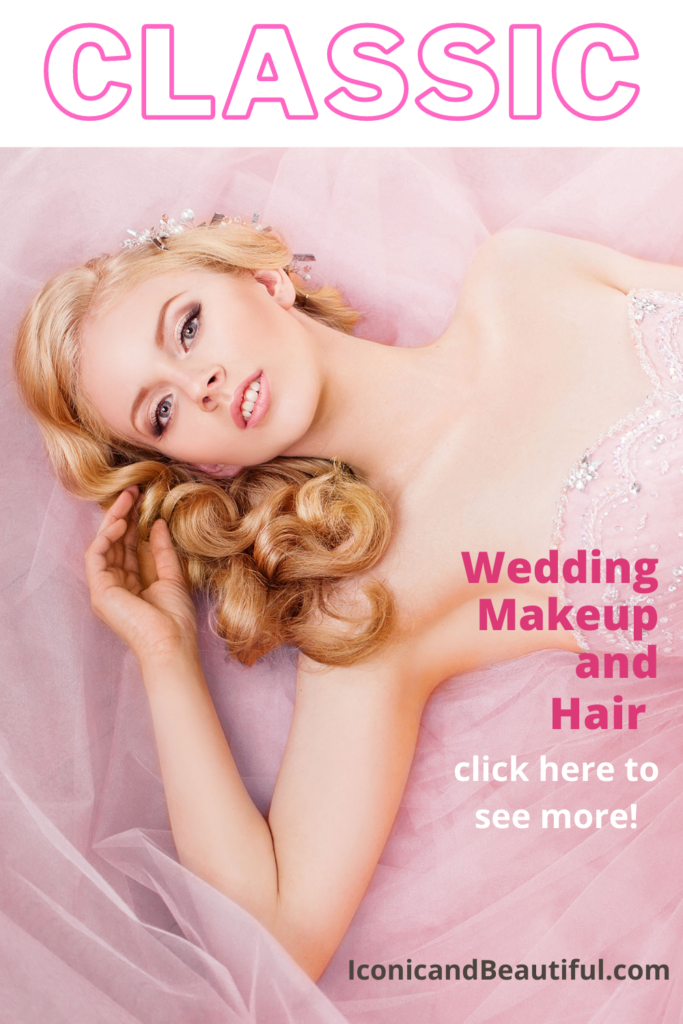
How do you do Hollywood glam hair?
How do you look glamorous and get Old Hollywood glamour hair? This is the most classic and iconic look on the red carpet these days, and you can get it too! Here we go on our journey to glamorous makeup and hair. Read on!
7 Steps to Classic Old Hollywood Vintage Waves
This is the style my clients love the best. It is easy and here are the steps:
Step #1: Create a side part
for correct placement go directly upward from the middle arch in your brow. Clip all the hair on top of the head except for the bottom layer you are working with.
Step #2: Spray and curl
Take a 2 inch section and spray with a thermal heat protectant/ thermal setting spray.
My choice: Kenra Professional Thermal Styling Spray 19.
With your curling iron, and by far the best for long lasting beautiful curls is the Hot Tools Signature Series Gold Curling Iron/Wand, 1” : The gold standard!
Take a 2” section at a time and Curl forward, toward the face, and pin in place with your duck bill clips.
Step #3: Continue throughout the hair
Once you finish the bottom level, go to the next level and repeat, working upward until the entire hair is curled toward the face. When you reach the front top portion of hair next to the part, Pull that lock directly upward and curl ON BASE, once again curling it toward the face.
Step #4: Gently use a blow dryer over the clipped curls for added staying power for the set
Remove the clips from the bottom layer, tease and then smooth into a wave pattern. The hair will tell you how it wants to wave, so follow it naturally, and spray it with a bit of the Kenra Medium Hold Hair Spray. Go to the next layer and repeat, honoring the waves that will naturally occur. Repeat this until you get to the top layer, and carefully brush into the wave pattern. Take a little pomade , I use Suavecita Pomade for Women. It smoothes away the flyways and gives a sleek professional finish.
Step #5: Now curl the front bump curl
Tease at the base to give it that bump. My favorite brushes: The Spornette Teasing Brush and Comb set: This will tease beautifully and smooth your hairstyle.
Place a duck bill clip at the base to give it the height and spray with a bit of Kenra. Take your smoothing brush, with your hand under the curl, and smooth it and clip it. Apply a little pomade with your hands, and then spray the whole hairstyle with the spray.
How do you do vintage waves on short hair?
This is quite similar to the instructions for medium and long hair, but you need a smaller barrel curling iron.
Step #1: For Marilyn Monroe and 1920s hair start with a 3/4 inch curling iron
I use the Hot Tools Professional 24K Gold Curling Iron/ Wand, ¾ inch
Step #2: Curl the hair in 2″ sections
Starting from the bottom and working upward, Spray each section with your wonderful thermal setting spray, Kenra Professional Thermal Styling Spray 19. Curl each section, with each curl directed toward the face, and pin with the duckbill clips. Allow to set for 10 minute
Step #3: Brush out the curls
Brush our the hair and pin the waves with your clips, honoring the curls that naturally form, and use my blow dryer on the style for 10 minutes.
Glamour Makeup and Hair How-To and Final Recap
- Well I hope you have enjoyed these tips for how to get glamorous makeup and hair for any occasion
- and how to look gorgeous in photos (which we all need nowadays.)
- as well as how to get Old Hollywood Glamour hair.
- I hope to add more information as time goes on, and show tutorials on how to get these looks, so stay tuned!
If you liked this post and have more questions about products, or want more tips and information on how to do your glamour makeup and hair like a pro, please feel free to contact me and feel free to leave a comment.
Pingback: How to Do Your Own Wedding Makeup: 12 Tips - Welcome
Pingback: Pinup girl makeup and hair: How do I look like a pinup? - Welcome
Pingback: How to Find a Good WEDDING HAIR AND MAKEUP ARTIST - Welcome